Image creation
The image workspace is where you generate or transform still images using models registered in AKOBOT. This guide describes the supported modes (text-to-image and image-to-image), how models are selected, and how outputs flow back into your gallery and history—written for operators who need repeatable procedures, not only a button sequence.
Audience — Designers, marketers, and creators who produce images inside the AKOBOT app; technical readers who need to align prompts and models with API-backed behavior.
In this article
- Navigation paths into the image tools
- Mode comparison: Text to Image vs Image to Image
- End-to-end workflow from model selection through generation
- Prompting practices, credits, and where outputs go next
- Operational notes and troubleshooting
Before you begin
- Account: You must be signed in to run generation against your credits and to save results to your workspace.
- Credits: Each generation consumes credits according to the model and options in effect; see your plan and Pricing for limits.
- Models: Available models are loaded from the model registry when the app can reach the backend; fallback lists may appear when offline.
Opening the image tools
The primary entry is Image tools. You can also reach it from dashboard shortcuts or from the consolidated Tools hub if your navigation exposes it. Keep the URL bookmarked for training materials so new users always land in the same place.
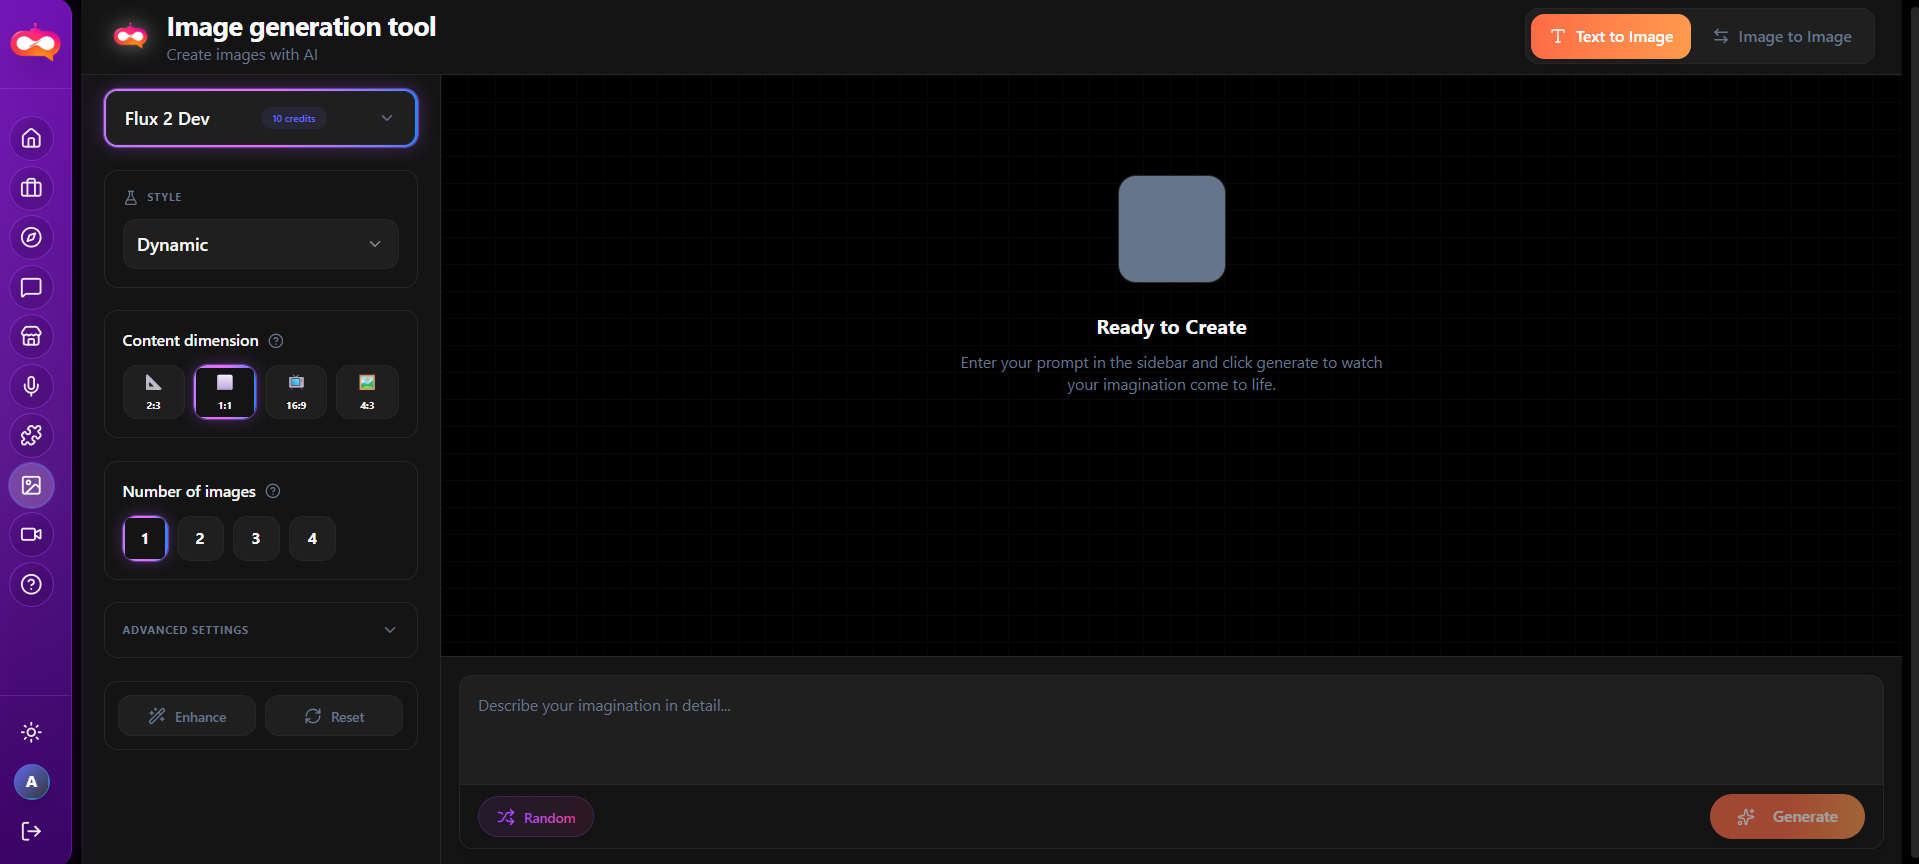
Creation modes
The interface switches modes at the top of the workspace (segmented control or tabs). Each mode uses a different model list and input requirements.
| Mode | Input | Best for |
|---|---|---|
| Text to Image | Prompt text; optional parameters exposed by the model UI. | New artwork, concepts, ads, thumbnails from scratch. |
| Image to Image | Source image plus prompt or transformation instructions. | Edits, style transfer, variations on an existing asset. |
Modes that may appear later
Additional capabilities such as background removal or upscaling may appear as separate header modes when enabled for your environment. When they are present, they follow the same pattern: select mode → choose model → provide inputs → generate.
Standard operating procedure
- Select the mode (Text to Image or Image to Image) so the correct model catalog loads.
- Choose a model from the catalog. Read the badge or description for tier (Pro, Beta, etc.) and expected quality.
- Compose the prompt with subject, style, lighting, and constraints. For Image to Image, upload or attach the reference image as required.
- Review optional controls exposed for that model (size, steps, seed if applicable—exact fields depend on integration).
- Run generation and wait for completion. A progress indicator is shown while the job runs.
- Verify the output in the session UI, then find it in the dashboard gallery and Creation history for audit trails.
Prompt quality
Outputs, privacy, and history
Generated images appear in your current session and are associated with your account. From the dashboard you can filter or change visibility (public vs private) where the product supports it. Use Creation history when you need to locate an older render or compare iterations.
Troubleshooting
| Issue | Suggested action |
|---|---|
| Model list empty or generic | Check connectivity; registry may be loading. Retry after a moment or contact support if persistent. |
| Generation fails immediately | Insufficient credits, invalid input, or unsupported file type for Image to Image. |
| Unexpected style or content | Refine prompt; try a different model; verify reference image resolution and format. |
See also
Video creation · Explore (Feed) for inspiration · Account & support